8.4.08
CP Update a Family’s Accepted Enrollment Record
When a child is rolled over to the next program year, they are Accepted at their current site and classroom if they are not required to re-verify or <No Site><No Classroom> if re-verified. When the family decides on their 1st and 2nd choices for the next program year, the Family Worker or Home Visitor updates the child enrollment record in ChildPlus.
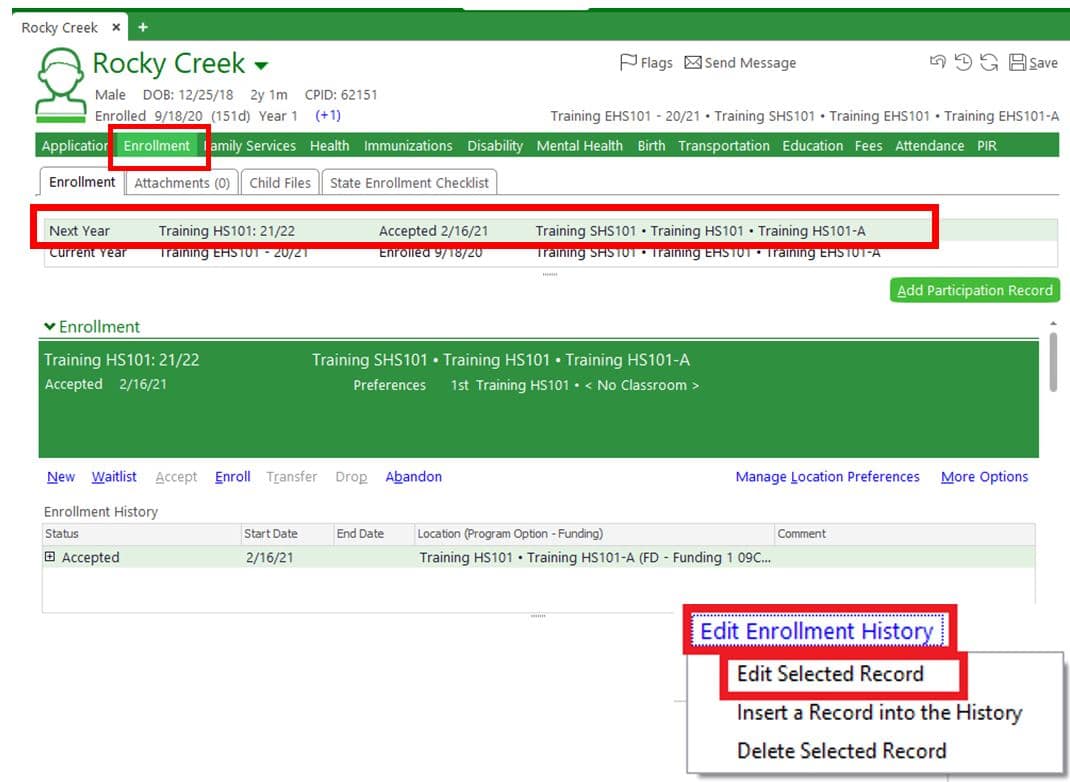
- On the Services tab, in the Participants list, click the relevant child’s name.
- On the participant’s record, click the Next Year Enrollment record. (New box outline added to screen shot below.)
- To the right of the status options, click Edit Enrollment History.
- Click on Edit Selected Record.
Note: If the participant is not included in the list, click the Change List button. Alternatively, use the Search field above the list to locate the child.
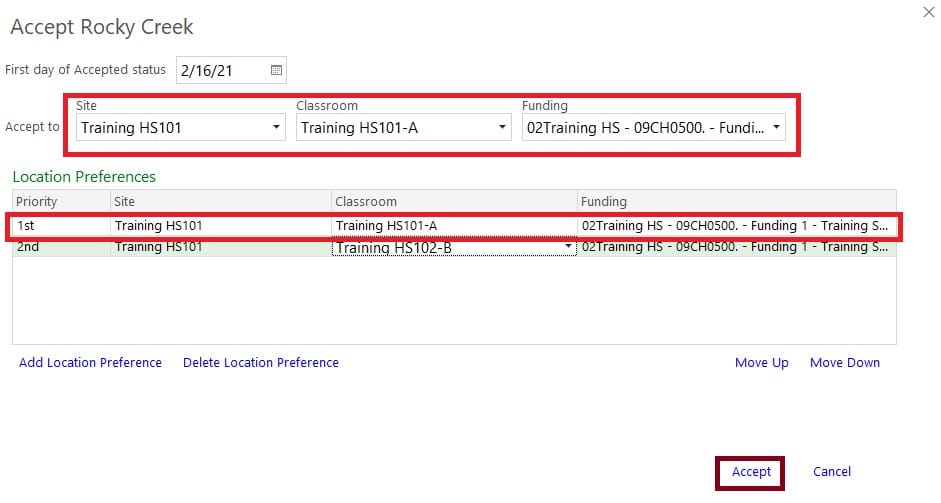
To Modify an Existing Accepted Site, Classroom and Location Preferences
- In the Edit Selected Recordpop-up window, for the relevant preference in the Accepted to and Location Preference list, click on the Site, Classroom, and/or Funding selections and choose the desired location from the drop-down lists.
- Accepted To and 1st Location Preference must match for 1st round selection.
- Click Accept.
Note: The Classroom field may be left blank (i.e., <No Classroom>) if there are multiple classes or Home Visitors at a site. However, this field must be completed to enroll the child.
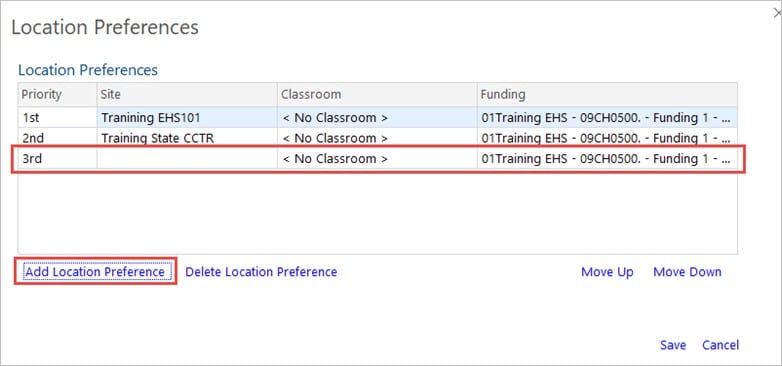
To Add a New Location Preference
- In the Location Preferencepop-up window, click Add Location Preference.
- In the new row that displays in the Location Preferences list, select the relevant Site, Classroom, and Funding.
- Click Save.
Note: The Classroom field may be left blank (i.e., <No Classroom>) if there are multiple classes or Home Visitors at a site. However, this field must be completed to accept or enroll the child.
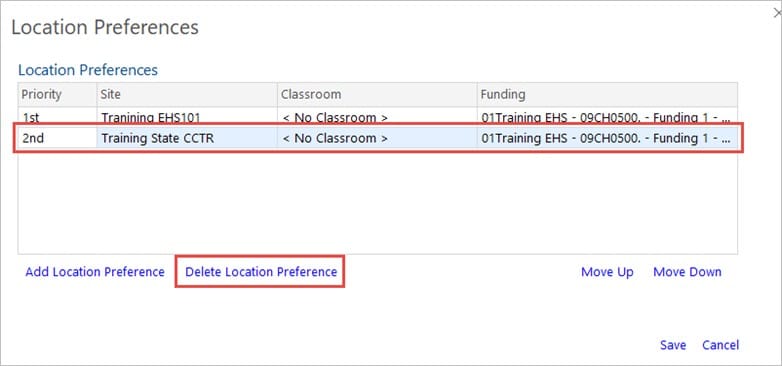
To Delete a Location Preference
- In the Location Preferencepop-up window, click on the location to be deleted.
- Click Delete Location Preference.
- Click Save.
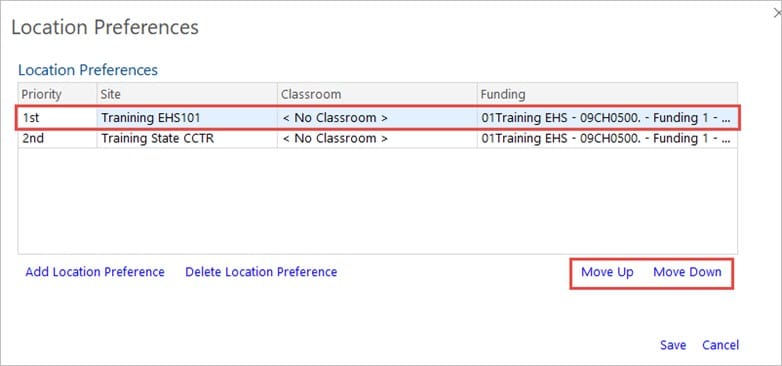
To Change the Preference Order
- In the Location Preference pop-up window, click on the location to be moved.
- Click the Move Up or Move Down button to change the order of the location preferences in the list.
- Click Save.